


|
|
|
Also Visit:
|
Mike's Mid 1980's Thunderbird Seats Install |
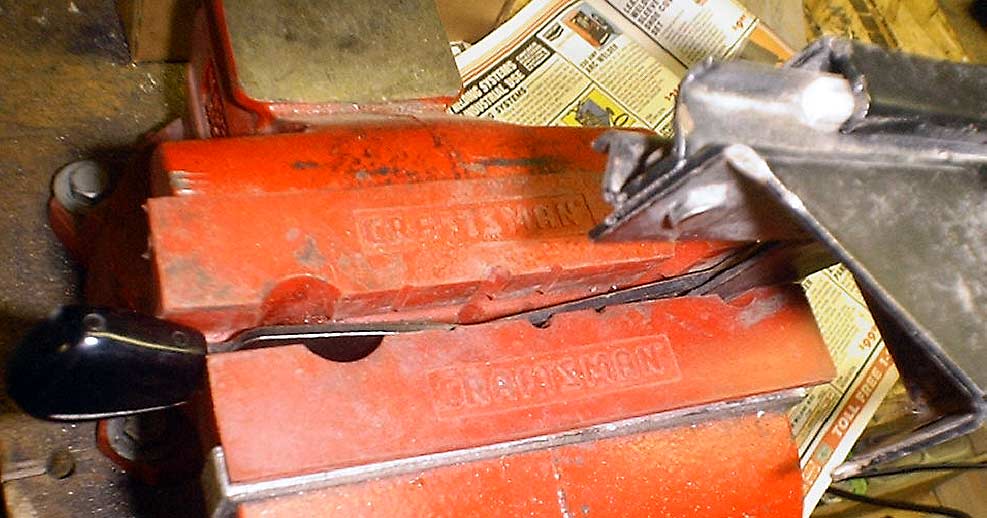
| Power Drill or Drill Press | |
| 9/32 & 3/8 bits | |
| Wrench or Ratchet Set (5/16, #10 & 1/2) | |
| Welder & Flat 10ga Steel (optional) | |
| Vise | |
| Flat Black Paint (Fabric paints if needed) | |
| 10' 16ga wire (connectors, loom, fuse-block, etc. optional) | |
| Clear Fabric or Household Glue (Goop, model-airplane, etc.) | |
| Grease |
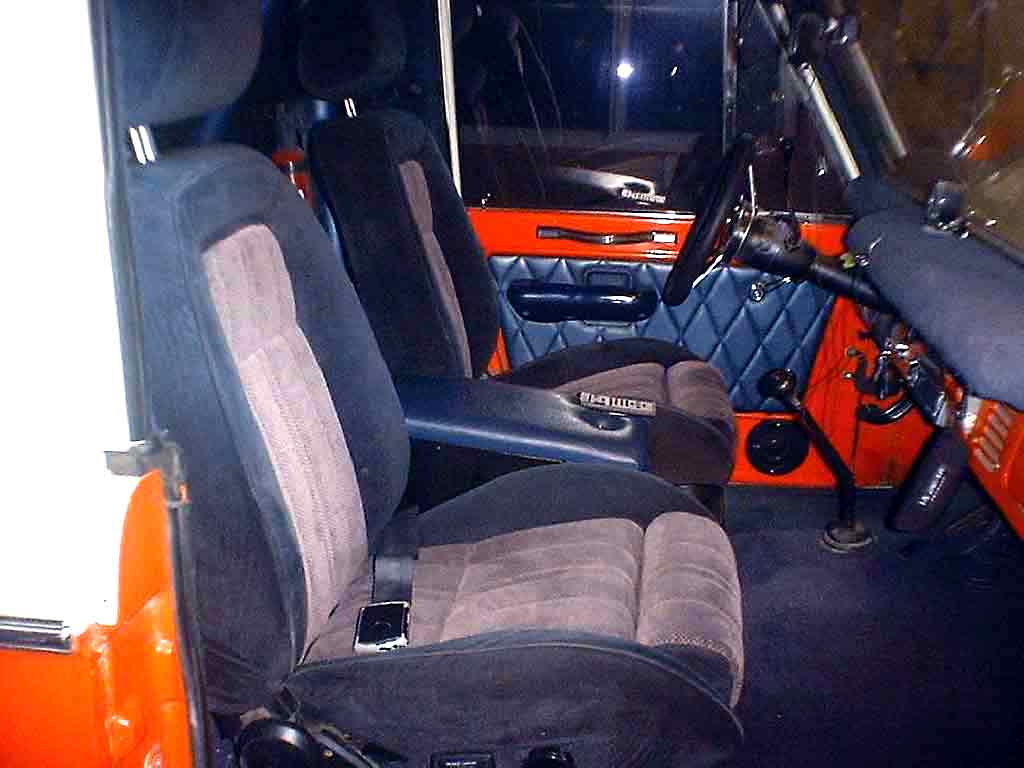
If you are like me, you can only stand so much of the unsupported upper back on the Standard low-back Bronco bucket seats. They tend to give you a "pain in the neck".
I
went to the local "pick your own" bone yard and came out with some mid
'80's Ford Thunderbird seats. The seats were the fully electric upper-end
models. I pulled them and left the electric tracks behind because of the
potential wiring problems. Four bolts (metric #10) free them from the tracks,
save these because they are easier to reuse than the star type used on the
Bronco seats you will need a box end wrench for this task. Off they came, paid
the guy $10.00 each and home they went.
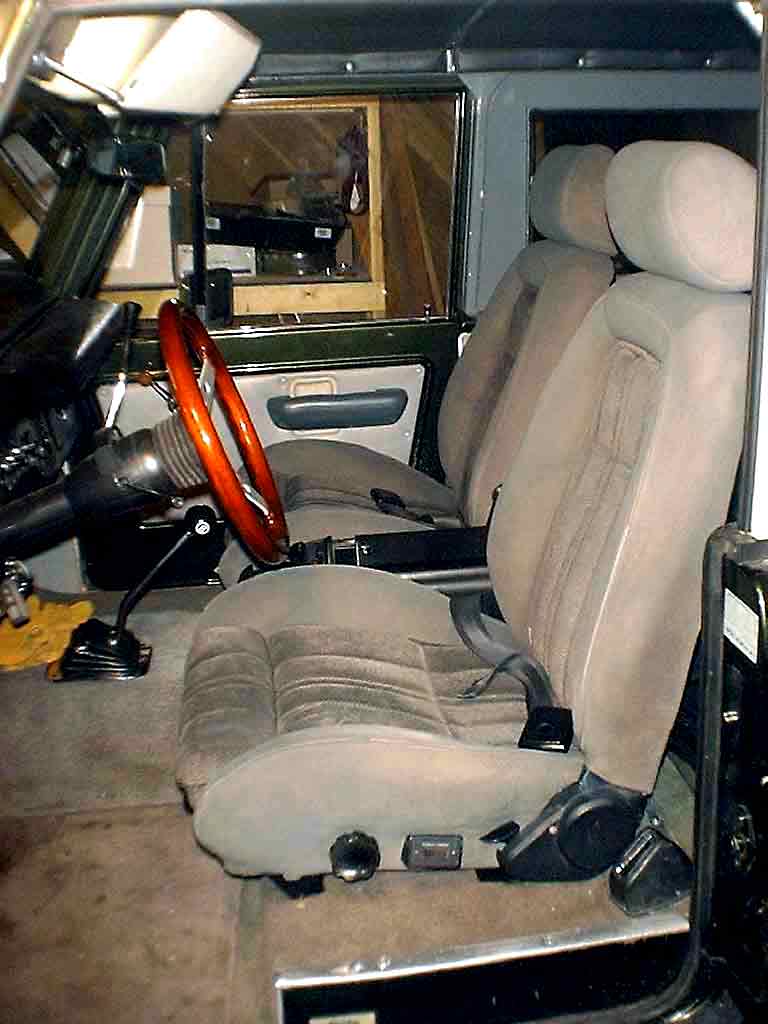
If
you are lucky enough to get seats that match your desired interior trim like I
did, skip the next step.
For
my daughters Bronco I ended up with tan seats because that is what they had in
this type seat that were in good shape so I had to paint them (Black centers
and Gray outsides). This was more work this way than one color would have
been. Yes, you read correctly, paint, Plasti-Kote
and Dupli-Color (Krylon) both
make Vinyl and/or Fabric paints, I prefer the Dupli-Color because it covers
better and has a superior spray nozzle. If you need to change the seat color, be
sure and use these products OUTSIDE because they will make you sick! Unlike
regular spray paints, you will not be able to handle these.
The first
thing I noticed was the bolt pattern was 14" wide, the same as the Bronco
seats! So, as it turned out the conversion was halfway there already.
The front
to back pattern on the Bronco tracks (drivers side) are 11 1/2" center to
center but the Thunderbird seats measure 14 3/4" but there were two more
mounting holes at the rear of the drivers-side seat and three more on the
passenger-side seat. The holes were at 12 1/4", 14 and 14 3/4" on the
drivers-side and 12 1/4, 13, 14 and 14 3/4 on the passenger-side seat.
I chose to
fabricate some tabs to extend the stock tracks back to the original Thunderbird
mounting holes at 14 3/4". I did this because I have the tools (a welder,
drill press, steal) and it set the seats as far forward as possible. I cut
1"x3" tabs and drilled them at 2 1/4"
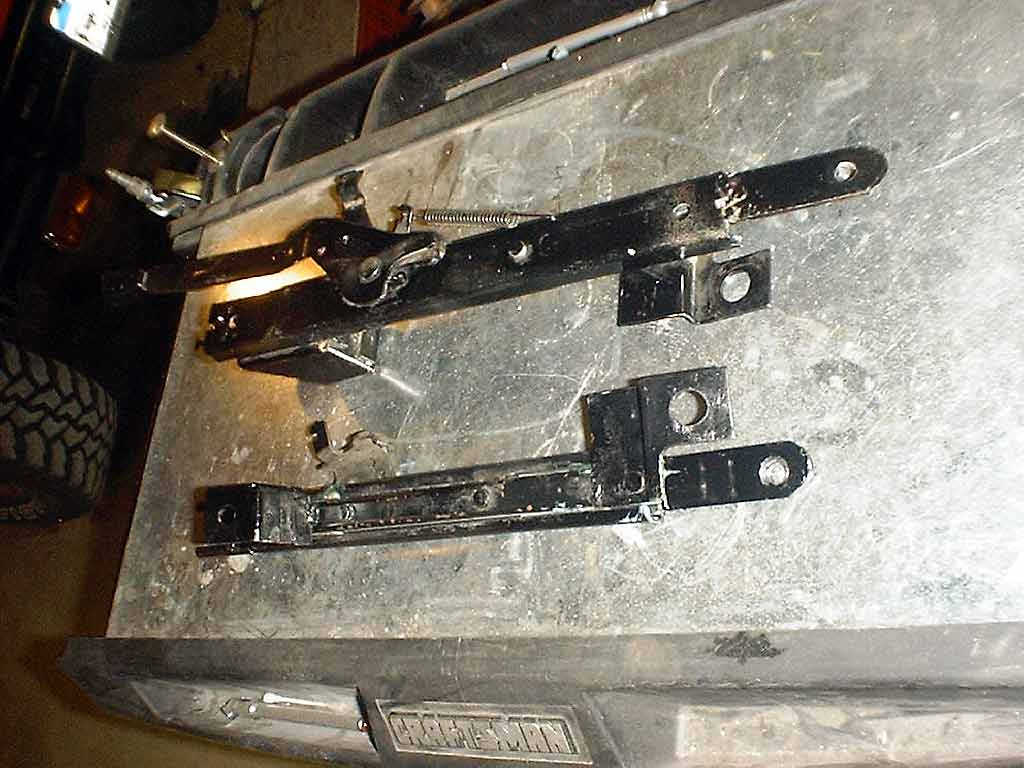
Without
the welder, it would still be easy to drill out the mounting holes on the Bronco
tracks to reach the 12 1/4 holes on the seats. These holes are not threaded but
the bolts will self-thread them.
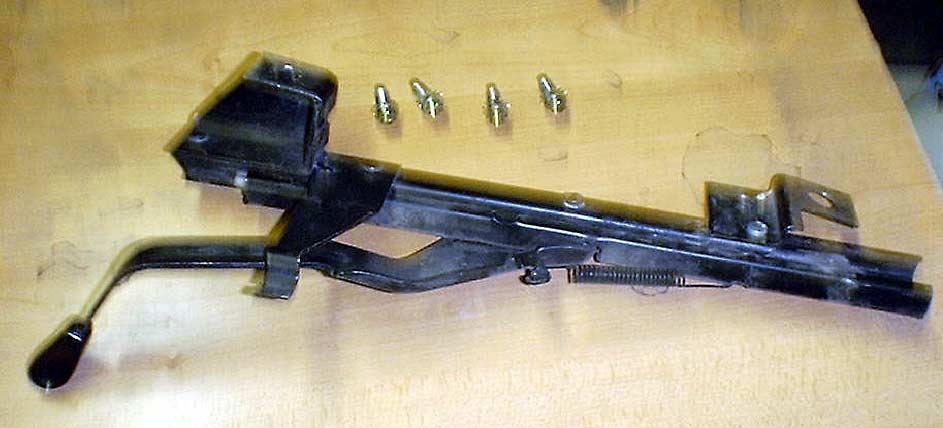
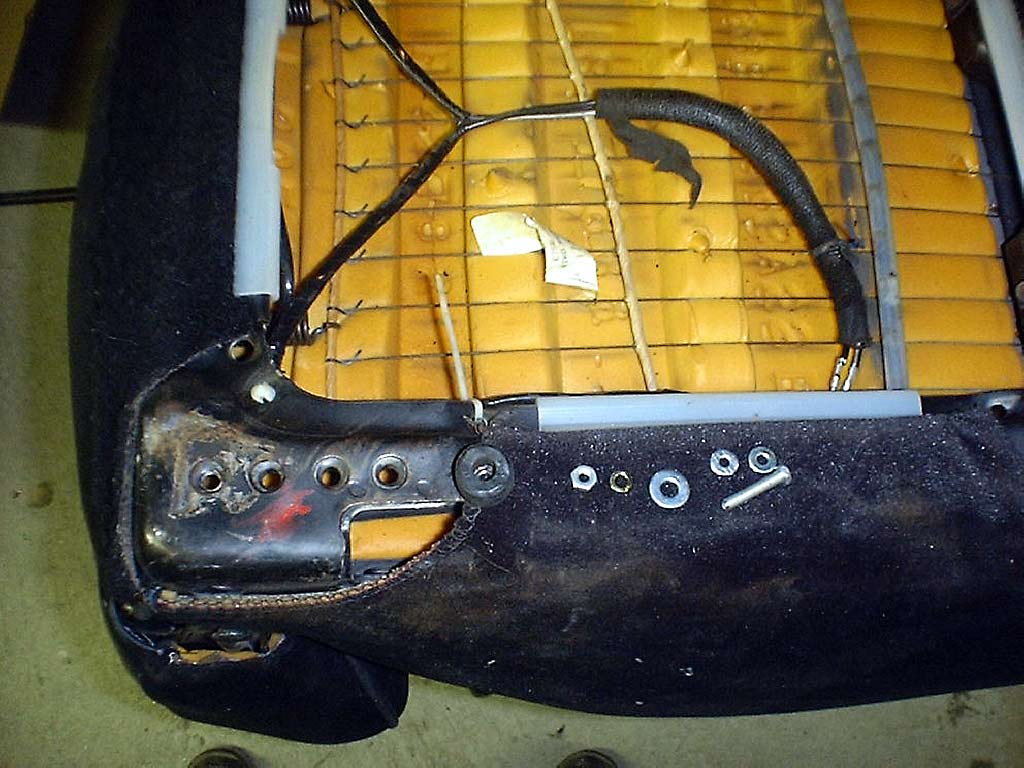
Of
course, there were a few snags; first, the drivers-side track release on the
driver’s side Bronco track is bent upward in front of the seat. However, the
T-bird seats have a nice adjustable knee support that sets out in front of the
seat that interferes with the release arm.
I used a vise with urethane jaw protectors to straighten the release arm.
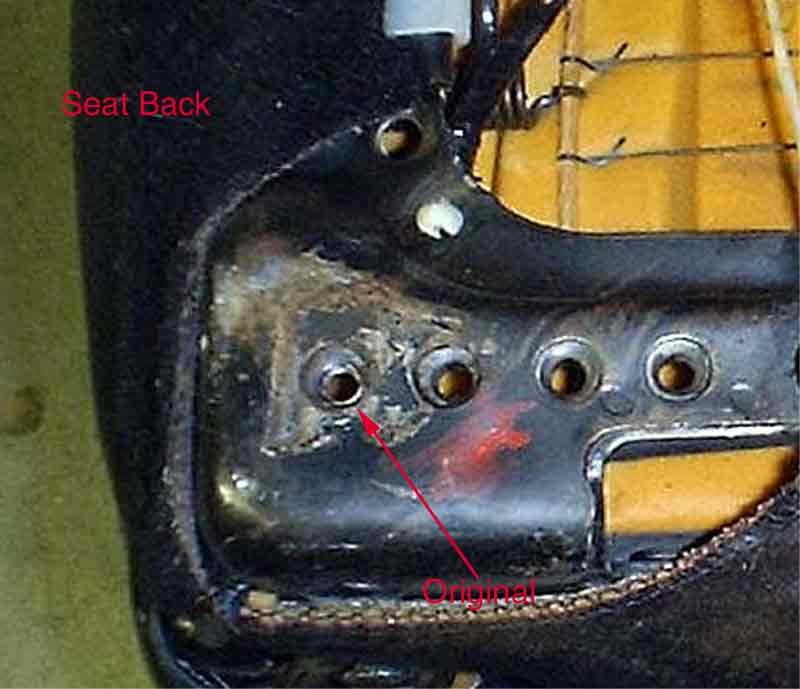
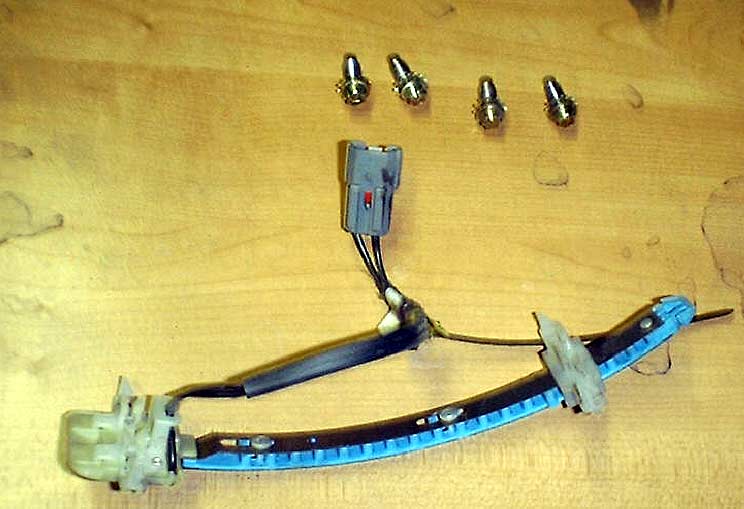
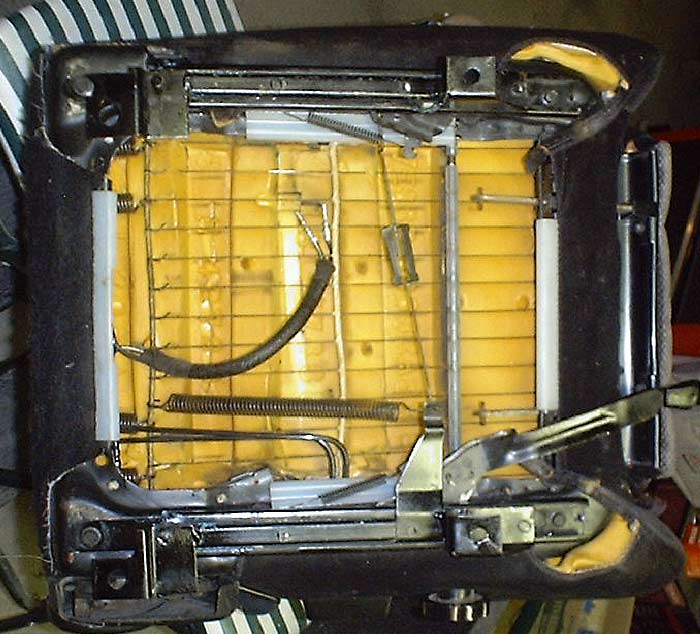
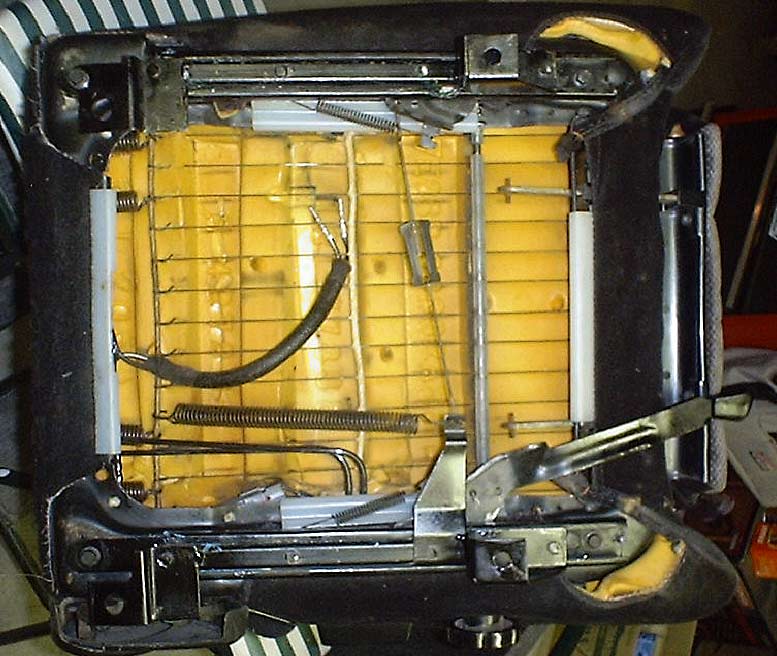
Before mounting the Bronco tracks to the seat, you can remove the auto-seat-adjuster sensor (unless you pulled the Thunderbird seat tracks and computer). This is easily unclipped from between the seat spring wires.
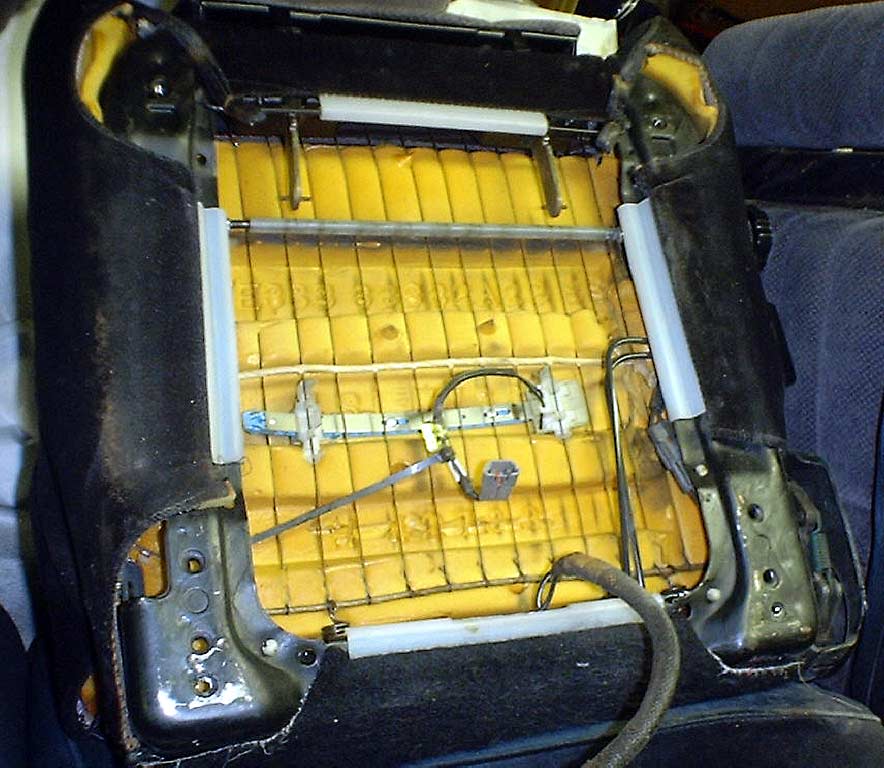
One last
adjustment that will be need to the seat is to cut the plastic upholstery clip
and a small amount of material from the bottom of the seat on the side without
the track release arm. This will keep the secondary track release working
freely.
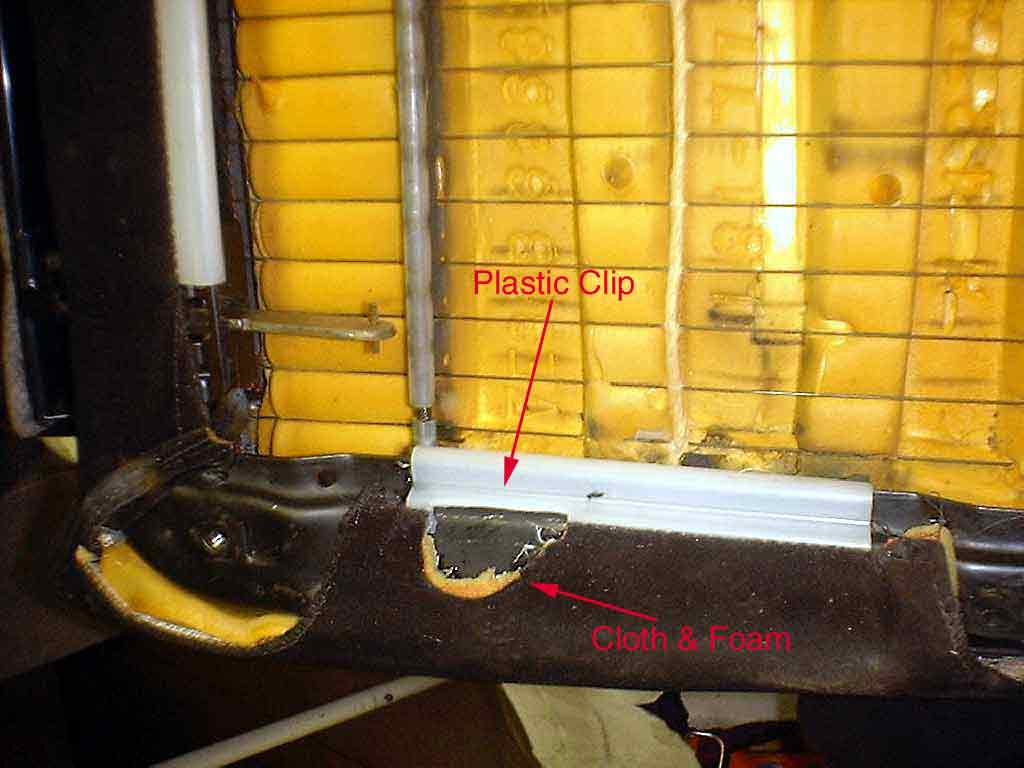
First,
mark the size of the release unit on the plastic clip while holding the track in
its mounting position. The plastic clip is sewn to the upholstery so cut along
the inside of the seat frame and then cut a half moon shaped piece out of the
cloth and foam beneath. Next, check the size again with the track (the plastic
clip will slide back and forth so don't over cut). After you get it
aligned and working freely, glue the foam and upholstery edge in place using
upholstery adhesive or other (model airplane type) household glue. It is best to
apply the glue just before mounting the track on that side.
Apply
the glue, reattach the springs, bolt the tracks to the seat, grease the tracks,
spray dry-lube (PTFE) on the knee rest extensions and bolt it back in your
bronco.
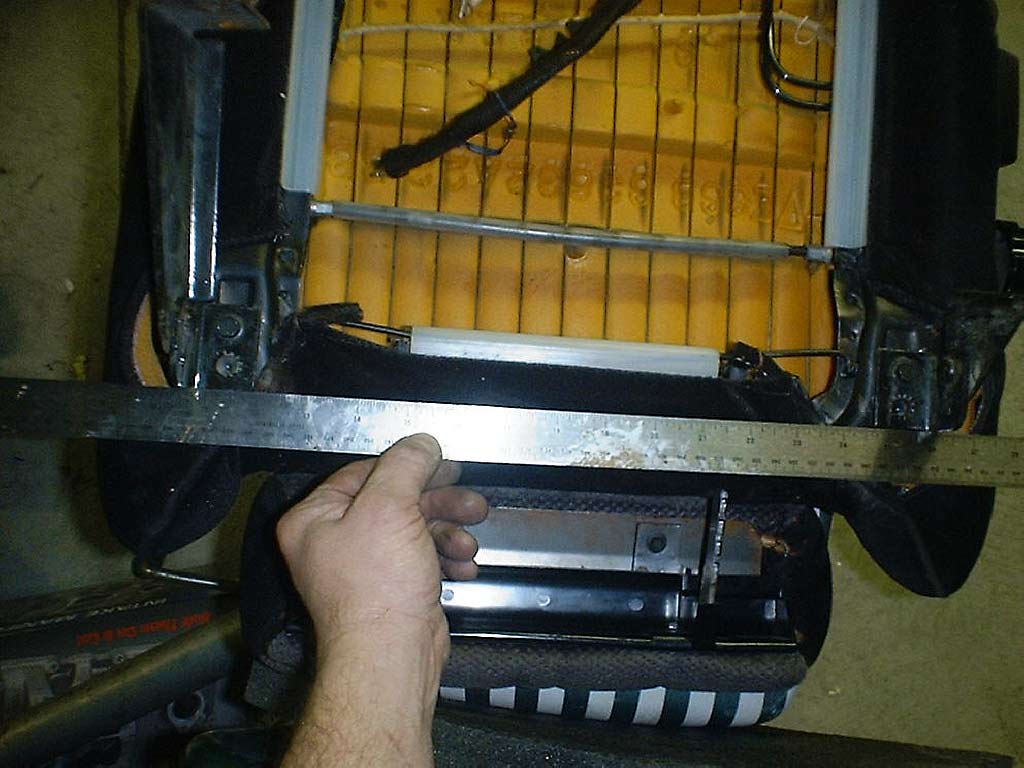
The
passenger seat is even easier to adapt. Just remove the brackets from the front
of your original seat and attach either the front or the back hole on the
bracket to the front holes of the seat. Snug the bolts while using a straight
edge to align them. Now tighten them down so they do not move while you drill
the other two mounting holes using a 9/32" drill bit. You can use the
bracket holes for a guide, be careful that the bracket does not move and that
you do not ream out the holes in the brackets. Use a center punch if you have
one.
On the
rear of the seats, you can attach the rubber feet from your old seats. If the
original seats pads are worn out or gone, the local hardware store will have
rubber door stops, chair or table feet or something that will work.
Actually
I used two old lift gate bumpers left over from when I put new ones on a few
years ago (Yes
I am a pack rat).
If you have carpeting, you may not even need bumpers because the carpet will keep them from rattling.
Next,
it is time to run the wiring for the Electric Lumbar Supports. I have a
secondary fuse block I placed on the firewall where the clutch pedal would have
been, so I started there and ran the hot wire underneath the carpeting.
Otherwise you can just tap into a keyed positive wire preferably one with at
least a 15 amp fuse. I split the wires in-between the seats where the console
will go. Without carpeting, I would run it underneath the floorboard. Connect
these to the wires on the seats with the white stripe.
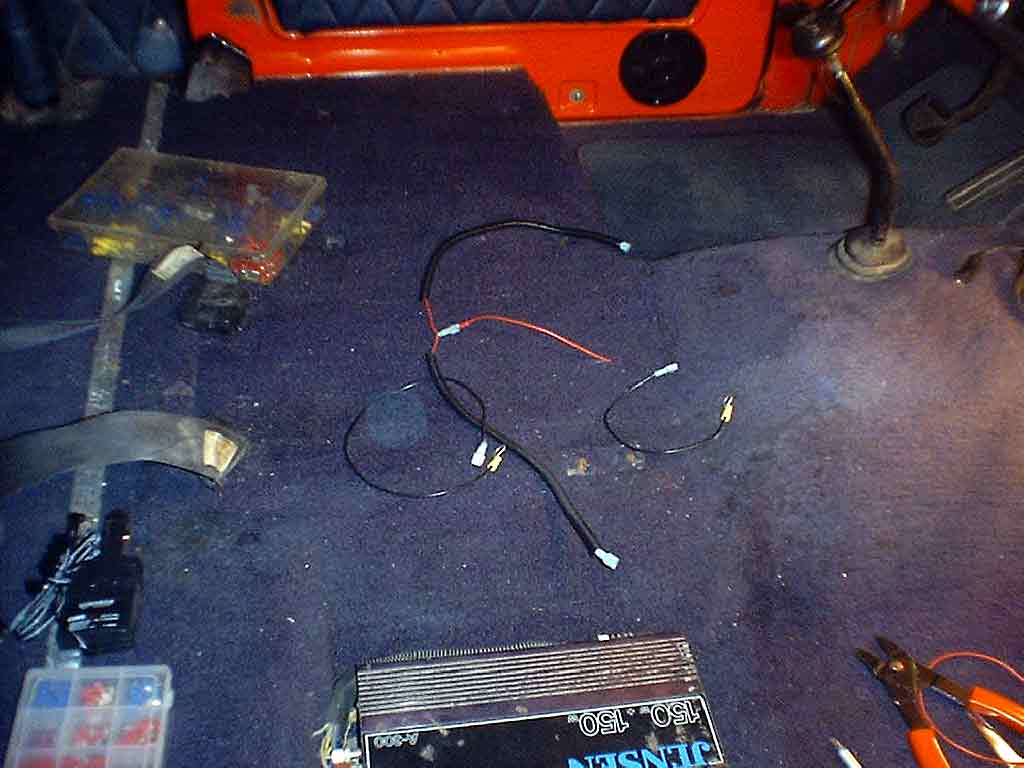
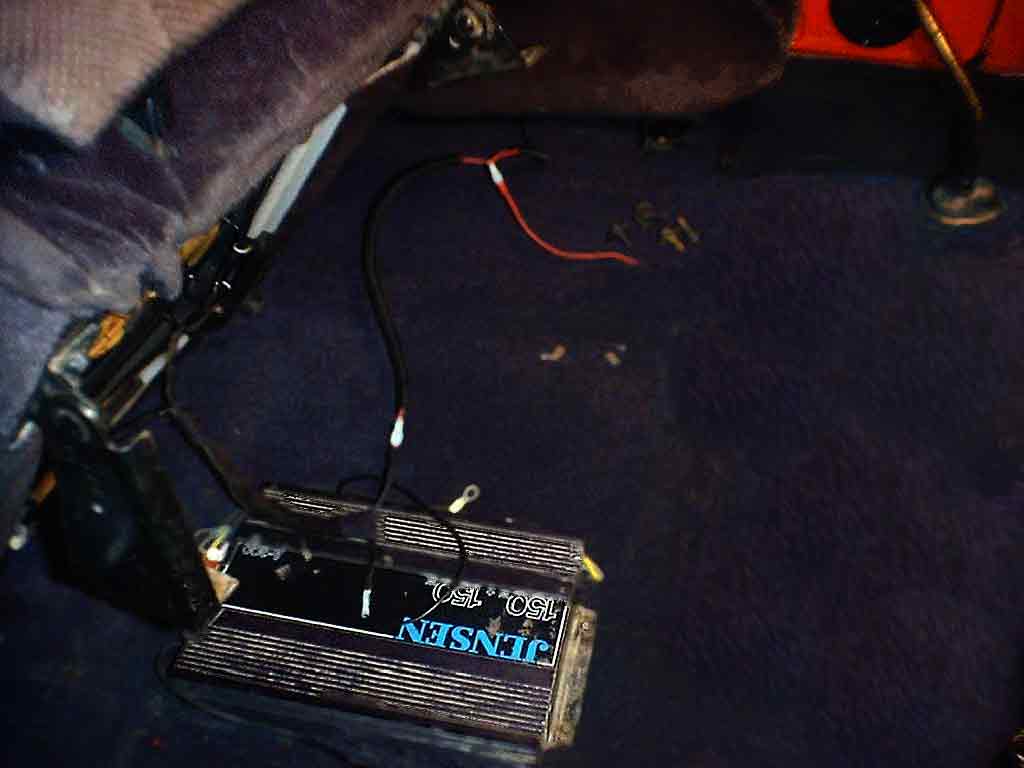
Last,
make two 10 to 12 inch negative wires with an eyelet connecter on one end, which
is large enough to pass one of the 5/16" floor mounting bolts. Use new
insulated connectors on the seat wires after clipping off the originals. Again,
the hot wire (positive) is the one with the white stripe. The negative
will just attach to a seat hold down bolt and does not necessarily have to be an
insulated connector.
|
|