


|
|
|
Also Visit:
|
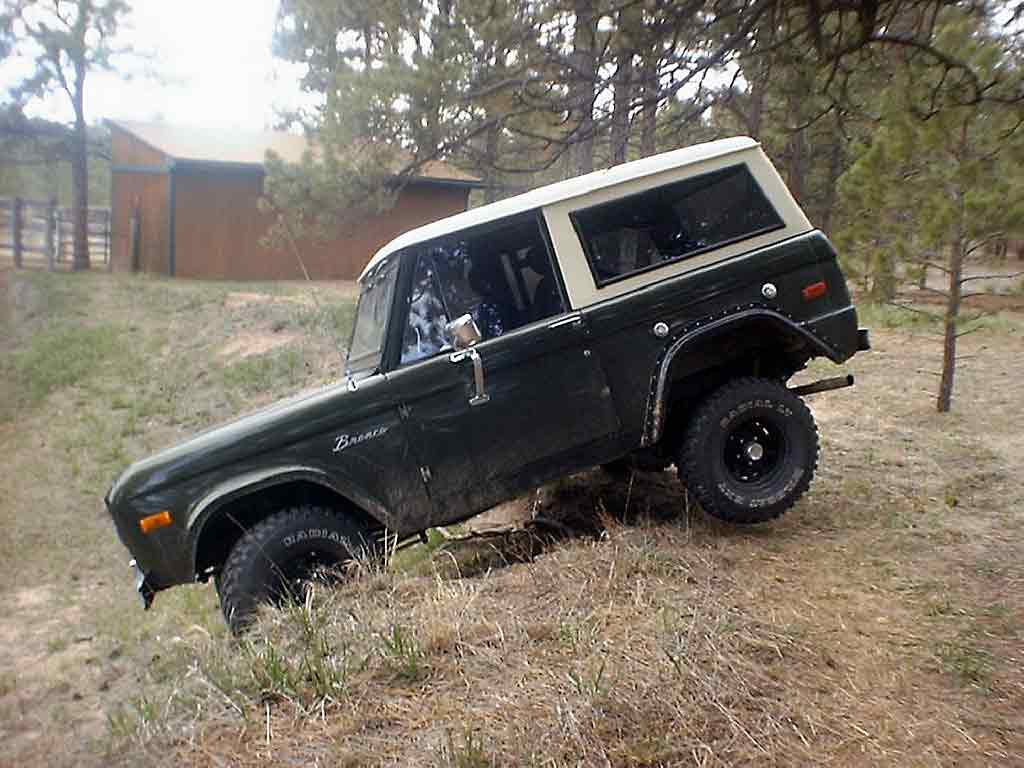
Custom Install for the OEM or Addco Anti-Sway BarsEveryone knows the pros and cons of installing anti-sway bars on a four wheel drive, especially an early Bronco. Yes, the anti-sway bars is very beneficial to a short wheelbase early Bronco, and yes, it will effect your articulation! Can you have your cake and eat it too?
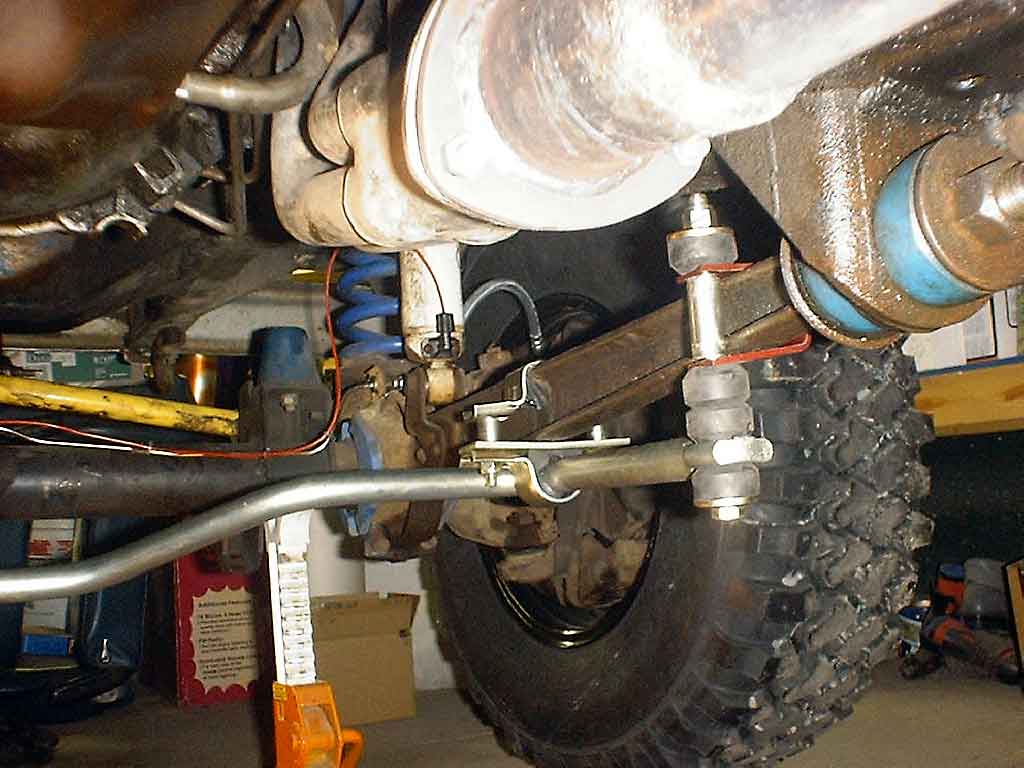
I learn this install method years ago for vehicles like the Ford Bronco and Pickup with coil front suspension. The idea is to place the anti-sway bars in between the radius arms and tie them only to the radius arms. This way they can perform the ant-sway function while still allowing articulation because of the added leverage gained through this type of mounting. On OEM Bars they will not only fit in between the radius arms but will fit backwards so the cross bar ends up located up just under the front drive shaft slip yoke providing virtually no ground clearance loss. The Addco #113 1" Anti-sway bar and LMC #48-2208 7/8" is very similar to the OEM one except for the ends have eyes and it's a bit wider. It will not fit and mount in between the radius arms like the OEM ones will though. They can, however, be mounted to the bottoms of the radius arms without loosing to much ground clearance. I am not sure whether or not the 7/8" LMC ones will or not. Following is the Addco installBefore you attempt this install you must purchase some hardware and be able to work metal and have the correct tools. (No welding required)
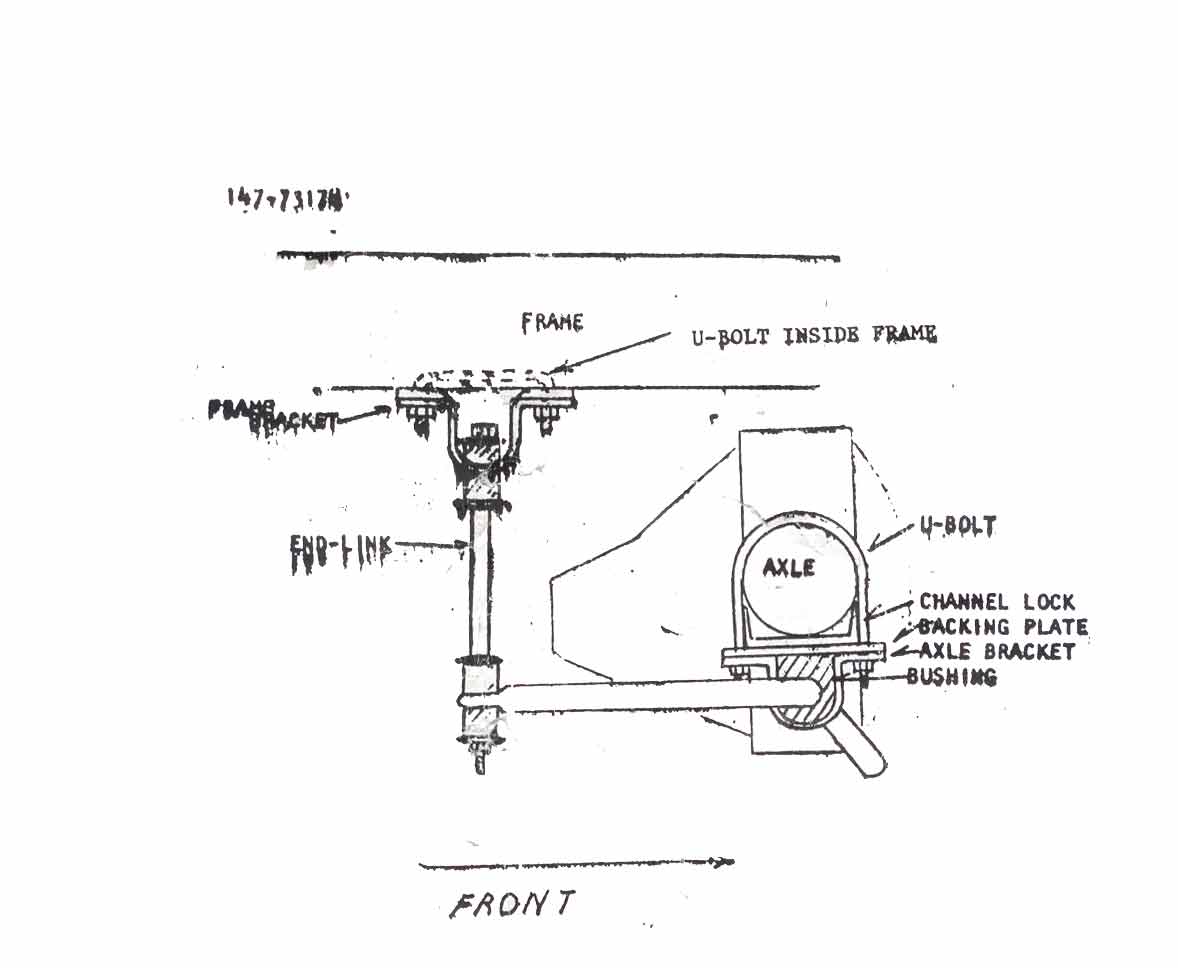
NOTE: Use the rubber grommets supplied with the anti-sway bar, not after market urethane ones. The rubber will help provide more articulation because they will compress much further. This is the Addco installation drawing:
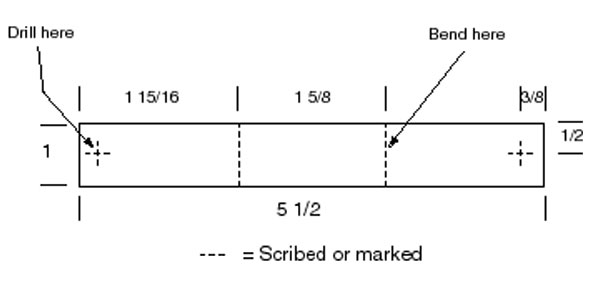
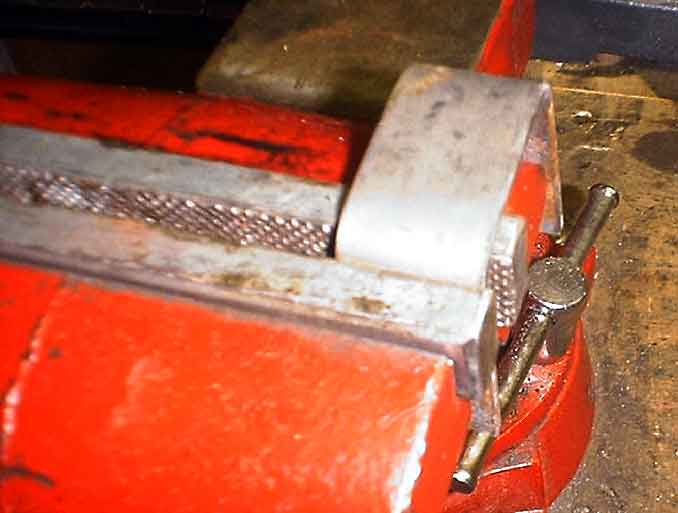
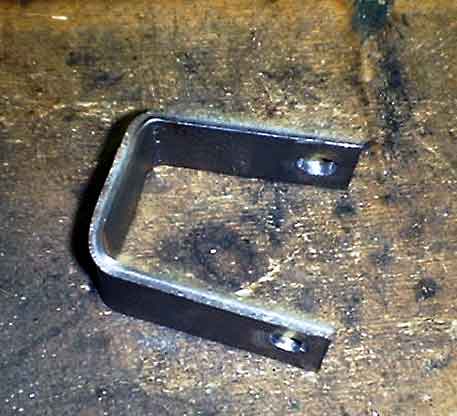
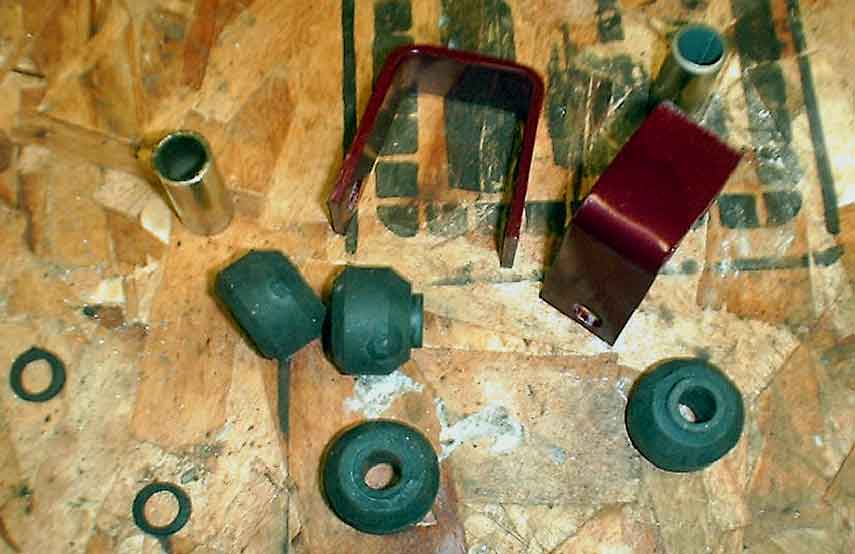
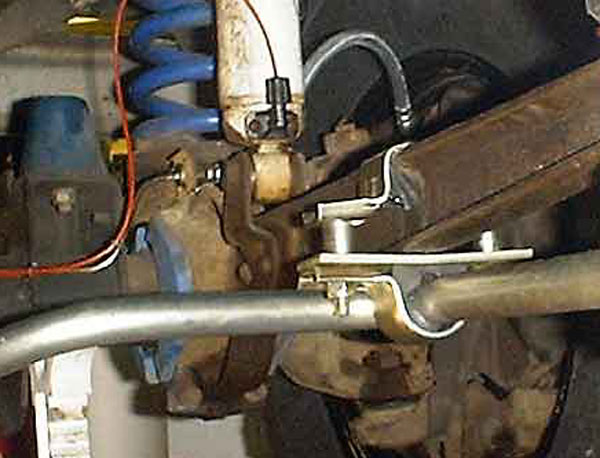
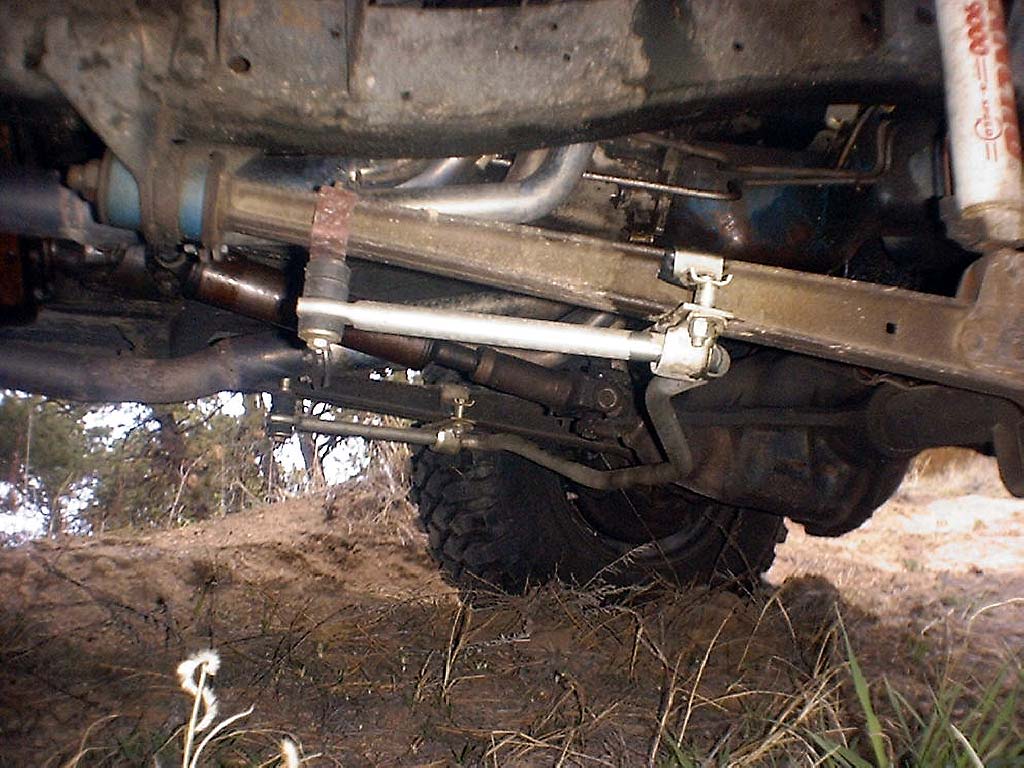
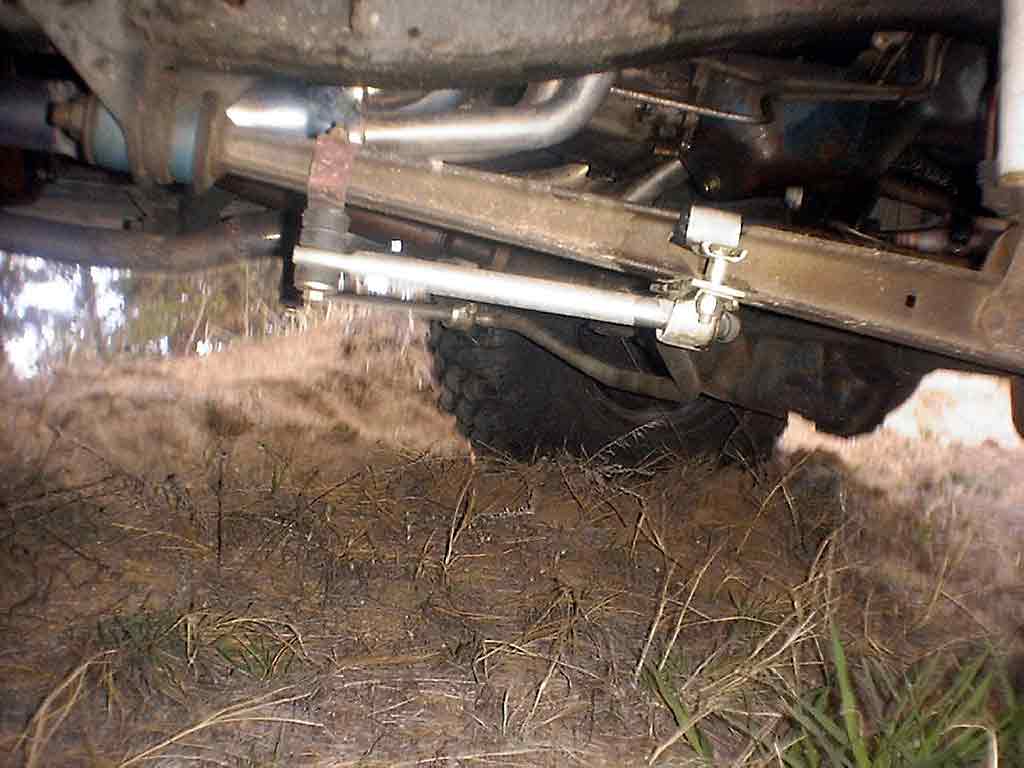
As you can see the Addco ant-sway bar is designed to mount across the differential and to the truck frame. First you must make a set of two radius arm brackets from 5 1/2"x1"x1/8" (10 gage) steel. You will need to drill them 3/8", 7/16" or 1/2" depending on what size bolts you will be using. After drilling the plates use a vise to bend them into a U shape. Make sure the legs are the same length and the upper and lower holes line up.
After fabricating the brackets, next you must paint them to prevent rust. I recommend primer first and then enamel paint.
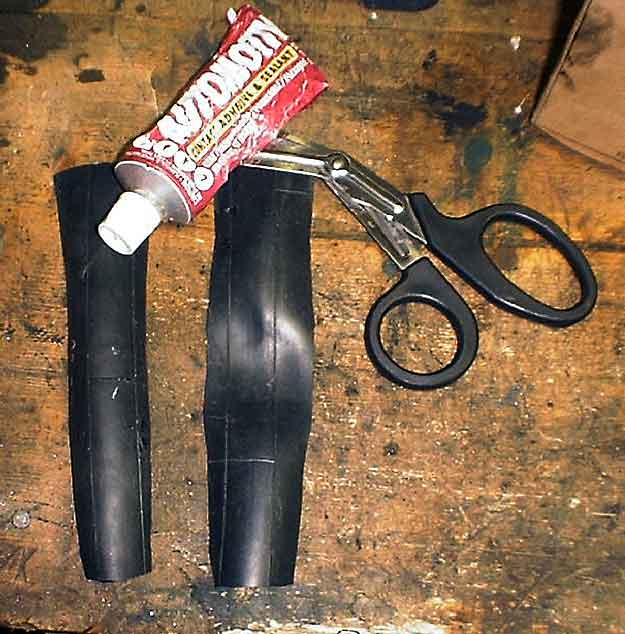
Next you will need to cut some rubber bracket pads for use on the front stock kit mounts. I used some old bicycle inner tubes doubled up.
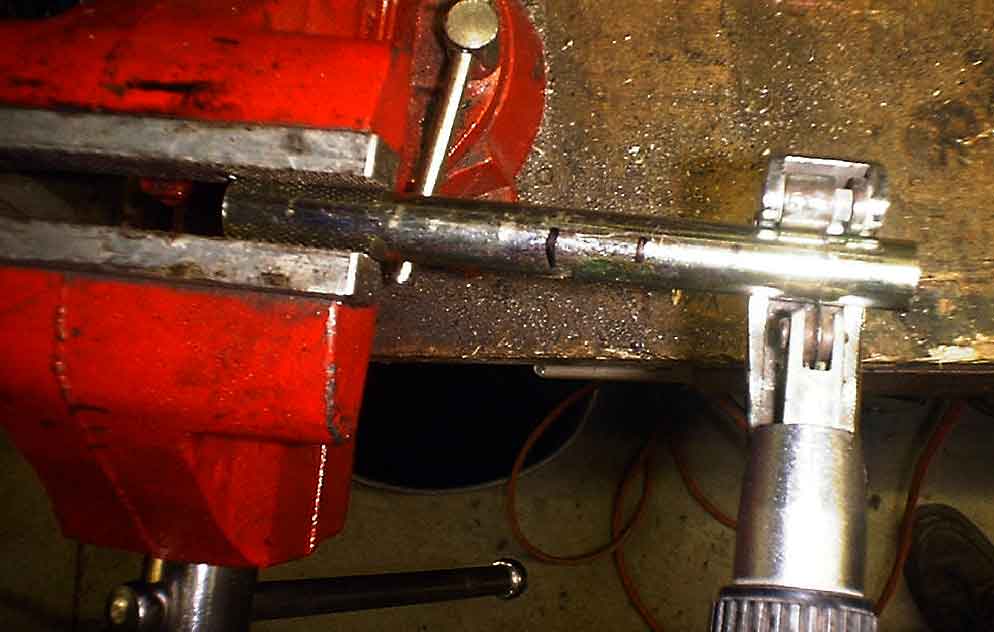
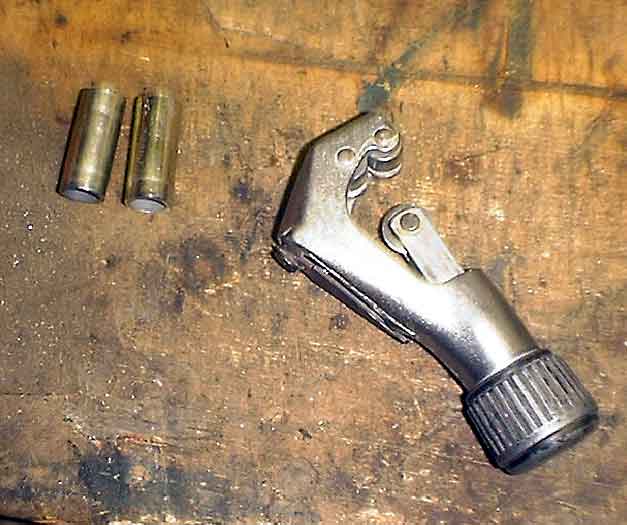
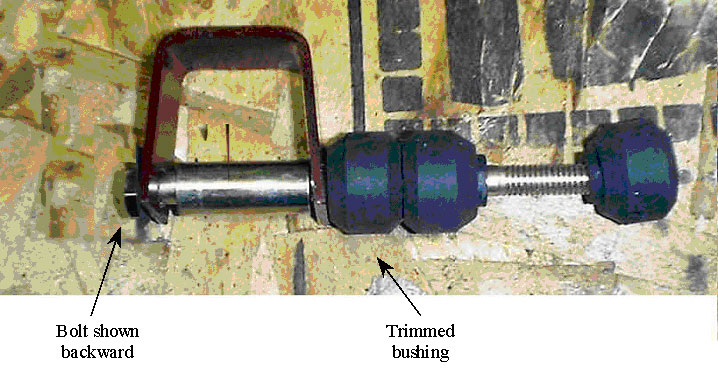
Next you will need to cut some spacers out of tubing or conduit. Use a pipe cutter to make sure they cut straight. You will need to cut 4) 1" long spacers for the front mounts and 2) more that should be sized slightly smaller than the radius arm is tall (about 1 1/2") at the point where you place the mounts (approximately 5" from the frame mount for the radius arm).
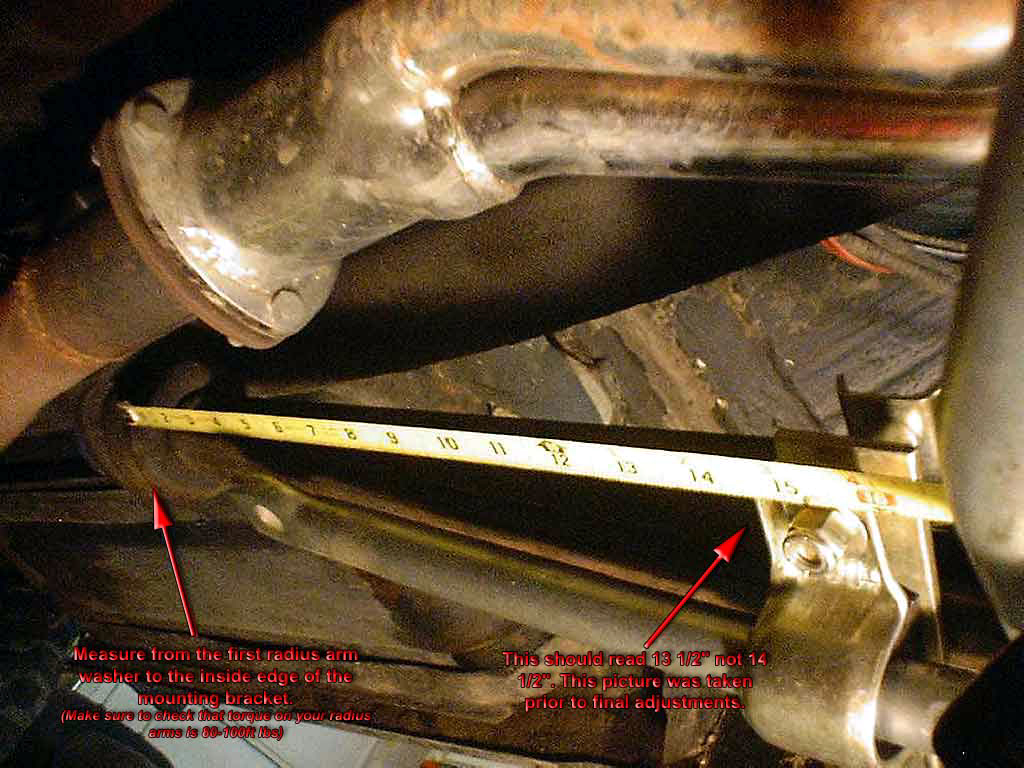
Next you will need to trim the shoulder off four of the rubber grommets with a utility knife for the top and bottom of the handmade U brackets. Next, glue the rubber pads inside the kits U "frame" brackets using a good quality rubber adhesive like Shoe Goo or Seals-All. Then mount the anti-sway bars to the bottom of the radius arms with the front mounts using the kit hardware and the 4) 1" spacers made earlier. Place the mounts about 14" from the radius arm frame mounts and assemble just finger tight for now. Now, assemble the handmade U bracket assemblies about 4" - 5" frame the radius arm frame bracket finger tight and work all the brackets forward or back until the anti-sway bar is straight and even side to side. Separate the front and rear brackets as far apart as possible, but all left side measurements and right side measurements should end up to be equal.
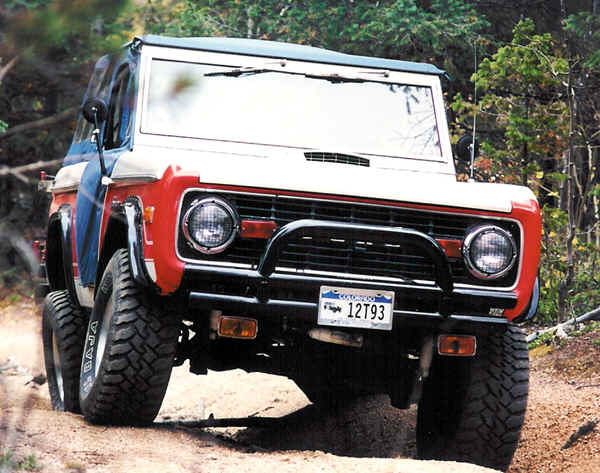
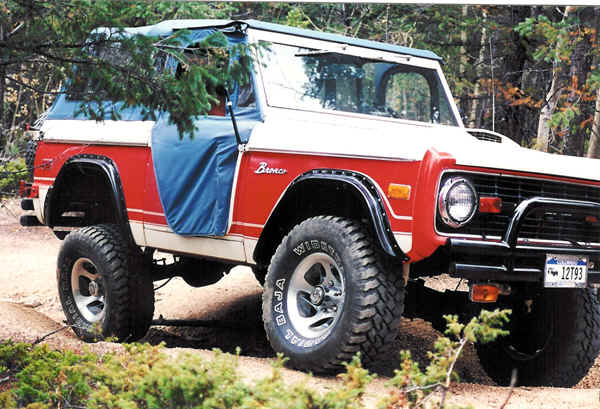
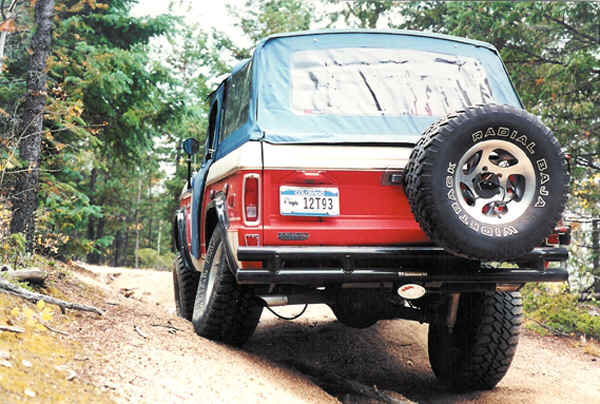
Lastly, tighten all the fasteners to the kit recommendations. Recheck all the fasteners torque after 50 miles and then every time you change the oil as the fasteners will loosen as the rubber grommets wear in. You will notice a huge difference in on road cornering with little to no difference in articulation... Enjoy! Keep in mind these pictures were taken before break in and the Bronco only had a 2" lift with stiff Wild Horse coils and 19" Rancho 9000 shocks. I assure you we lost 0% articulation.
|
|
|